How to Take Real Estate Photos That Sell: Complete Guide
How to Shoot Real Estate Photography
Real estate photography combines HDR exposure bracketing, a wide-angle lens, and a consistent camera height to produce MLS-ready images. Set up on a tripod, bracket 3 to 5 exposures 2 stops apart, shoot at chest height, blend in post, correct verticals, and match white balance across every room in the listing.
- Check natural light and weather before you shoot — schedule exteriors for golden hour or bright overcast skies, and time interior shots around when each room gets the best ambient light.
- Walk the property and build a shot list before touching the camera — room order, angles per room, and which features need emphasis.
- Set up the right gear: tripod, wide-angle lens (16–24mm full-frame equivalent), and a remote or 2-second timer to kill shake on longer exposures.
- Bracket every shot — 3 to 5 exposures, 2 stops apart — to capture the range between window light and interior shadow.
- Frame each room to lead with its best feature — vaulted ceilings, an updated kitchen, a sightline through to a view or natural light source.
- Shoot from chest height, roughly 5–5.5 ft off the floor, and keep the sensor level to avoid converging verticals; adjust up or down only when a room calls for it.
- Blend the bracket, correct verticals and lens distortion, then export MLS-ready JPEGs with consistent white balance across the set.
| Setting | Typical value |
| Aperture | f/8 – f/11 |
| ISO | 100 (base ISO, tripod-mounted) |
| Camera height | Chest height, ~5–5.5 ft off the floor |
| Bracket | 3–5 exposures, 2 stops apart |
| Lens | 16–24mm (full-frame equivalent), wide-angle |
| Exterior timing | Golden hour or bright overcast for even light; twilight for dusk shots |
| White balance | One consistent value across every room in the same listing |
Blending brackets and retouching afterward is commonly outsourced to a post-production service, since it’s a separate skill set from shooting the listing.
 Real Estate Photo Tips:
 Real Estate Photo Tips:
Natural Lighting and Weather
A huge part of taking good real estate photography images is working with natural lighting and weather. Simply put, a well-lit property will look better than a dimly lit property. Lighting provides a sense of openness and clarity to images, especially when it is natural lighting. Working with the windows of a space and the artificial lights within rooms to provide a well-lit ambiance is essential in creating a good image.
Weather is uncontrollable at times so it is important for a real estate photographer to shoot at times where the weather is most tame. Rainy days or snowy days make it harder for editors to edit an image. Days where it is mostly sunny, or just a bit cloudy are not only better for lighting within the photo but they give a chance for a more controllable edit.
Go in with a plan
In the same way that meetings are approached with guidelines or a football team enters a game with a number of defensive plays, a photographer should enter a shoot with a plan to what photos need to be taken and what are the best features in the home.
In the case of an apartment in New York City, here is a sample plan of images to obtain:
- The Hero Shot
- Skyline Shots
- Amenities
- Detail Shots
- A Wide Angle of Each Room
This general shot list makes sure to secure a certain amount of images. With a plan, the photographer is granted a certain level of creativity from the start of the shoot to the finish.
Use the right gear
A photographer’s gear is nearly as important as a photographer’s eye. Using the right gear can’t guarantee a perfect image but it can assist you to create one if used properly.
- DSLR or Professional Grade Camera
A DSLR, mirrorless, and or professional-grade cameras give the photographer creative control with promises of excellent images. The most basic piece of equipment a real estate photographer should have is a quality camera. A phone camera or even a lower-end camera can’t provide high-quality images in the way a professional camera can. - Wide-angle lens
The next step in upping your equipment game is utilizing a wide-angle lens. This is ABSOLUTELY necessary for taking high-quality real estate property images. A wide-angle lens provides a way to show as much of the room as possible. A good wide-angle lens will have little to no distortion, which will help to avoid a fish-eye effect. These lenses have the capabilities to capture vast amounts of light and detail even in not particularly well-lit areas. - Flash
A flash unit can be used in scenarios when the natural and artificial lighting in a space is not sufficient for a good image. Flash, in interiors, if used properly can change the dynamic of an image for the better. - Tripod
Even though these images are taken typically of still figures, a tripod helps to ensure as little distortion as possible within images. In a high-quality real estate image, lines are straight and fit the horizon of the space. Tripods allow for an easy way to ensure all the lines are where they should be. - Remote Trigger
A remote trigger allows for a photographer to take an image without having to touch the camera. This can provide sharpness to an image that would otherwise be blurry by the slightest touch of movement. A remote trigger may also be helpful during lifestyle image shoots. - Drone
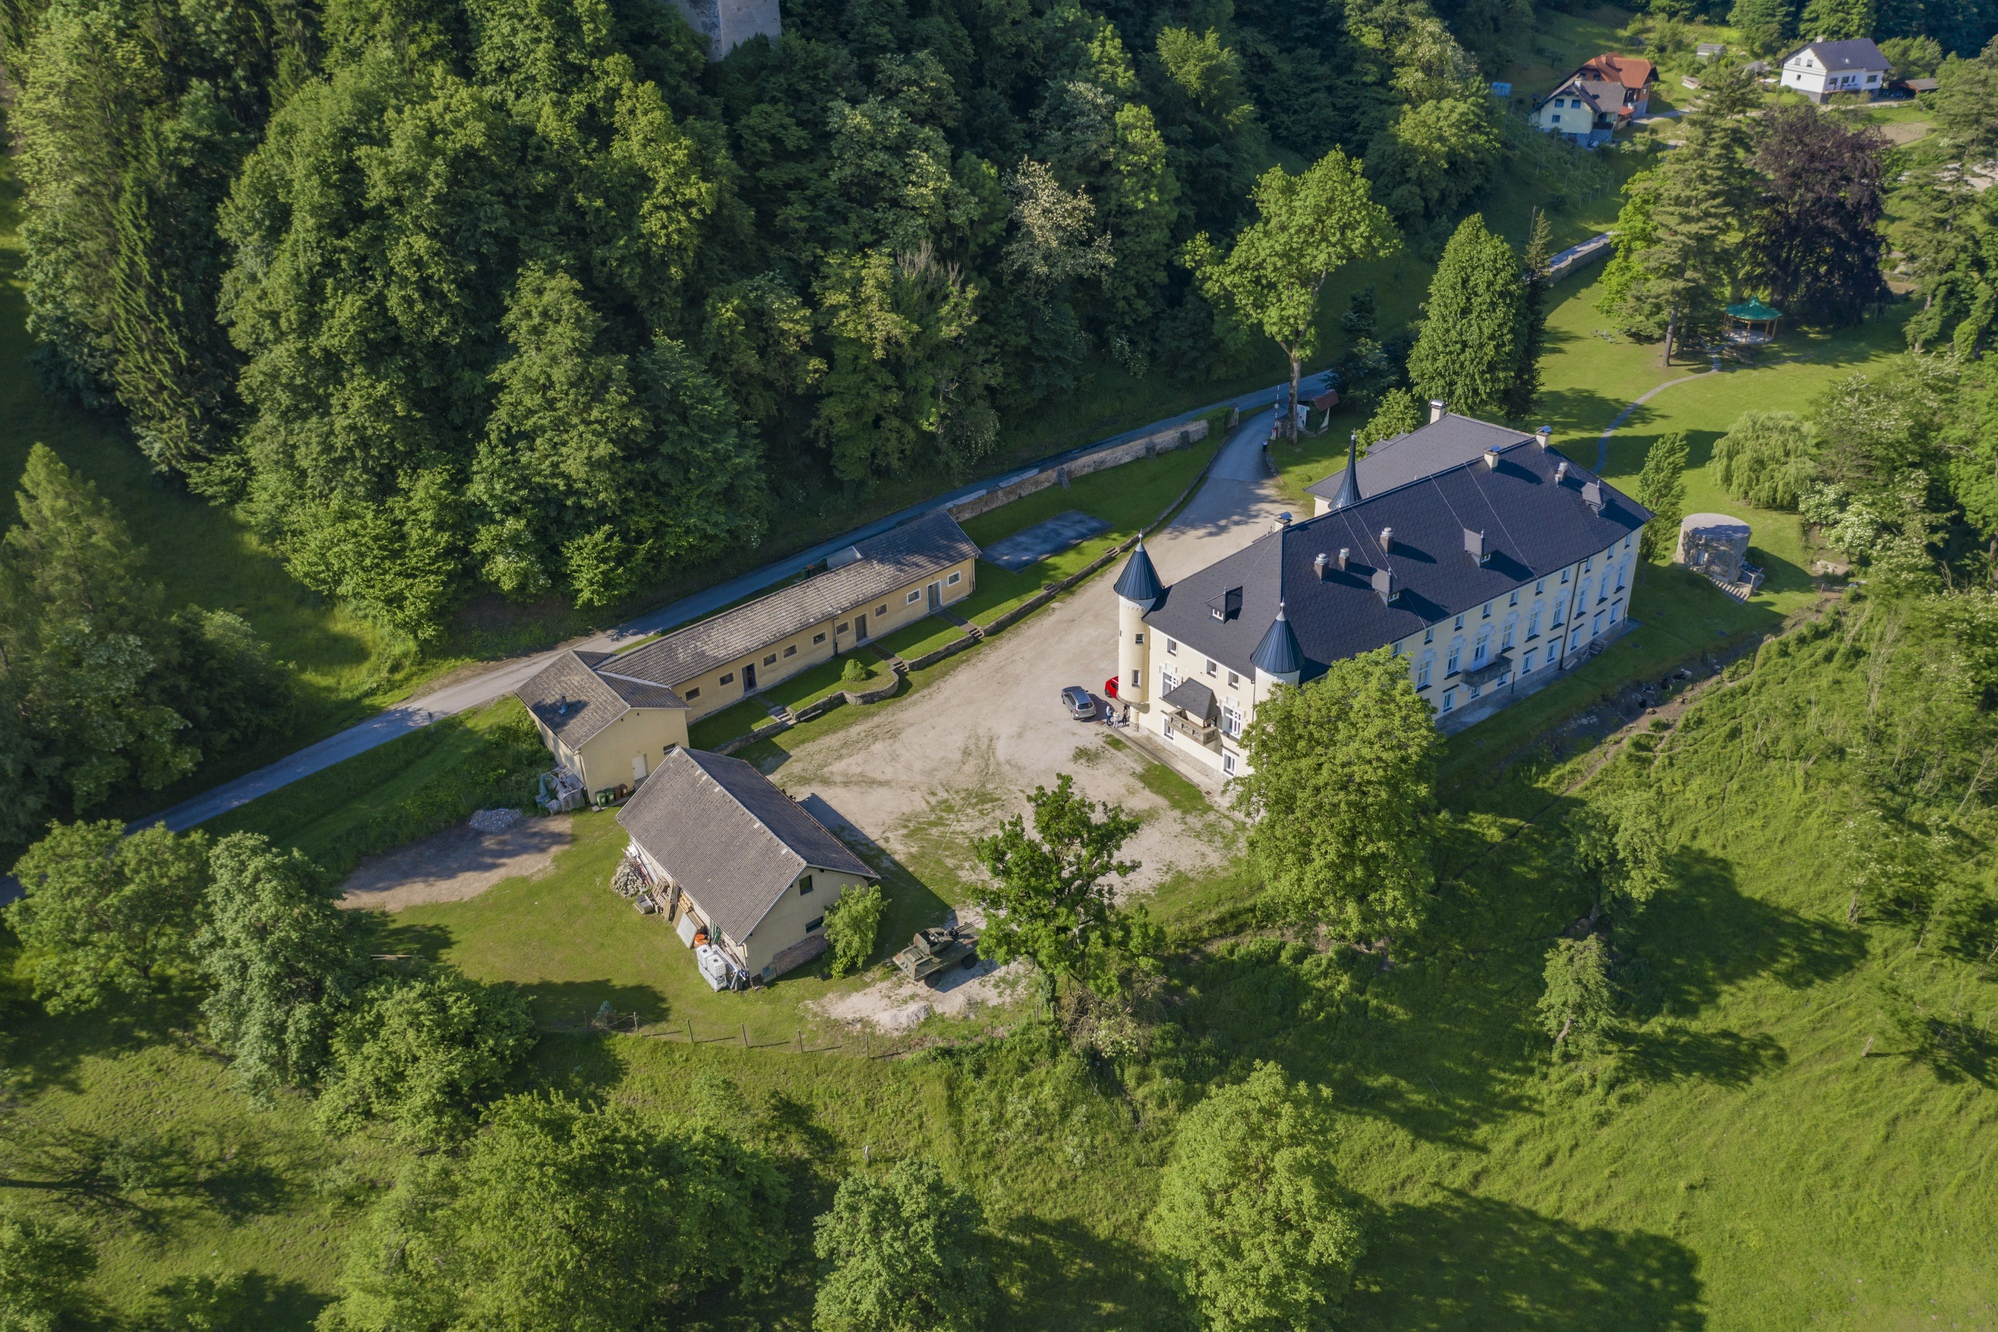
This isn’t entirely necessary for a real estate photographer but sometimes, clients will want exterior images or video of a property that can only be shown through an aerial image. A drone helps in providing a wider view of a property in regards to the space surrounding it.
Show Best Details and Features
This seems fairly obvious but, sometimes the set list of ideas and plans a photographer made will have to change upon arrival to a property. The interior design or architectural features of a home can change the feeling of a home. A property comes to life when it is shot with details in mind. A house with a spiral staircase NEEDS images of a spiral staircase in its portfolio, or a home with an accent wall of detailed wallpaper should showcase those features. The uniqueness of details within a property should shine through the images.
Experiment with Camera Height
Not all areas of the property should be shot at the same height or the same level. A good initial height is to start at just below the typical eye level to give a full range of the room to a viewer. Each room will need varying heights for the camera, for instance, in a kitchen you want to shoot just above the counter height whereas in a dining room you may want to shoot a little bit below. Changing the height in which you shoot gives depth to an image and a property.