How to shoot HDR images
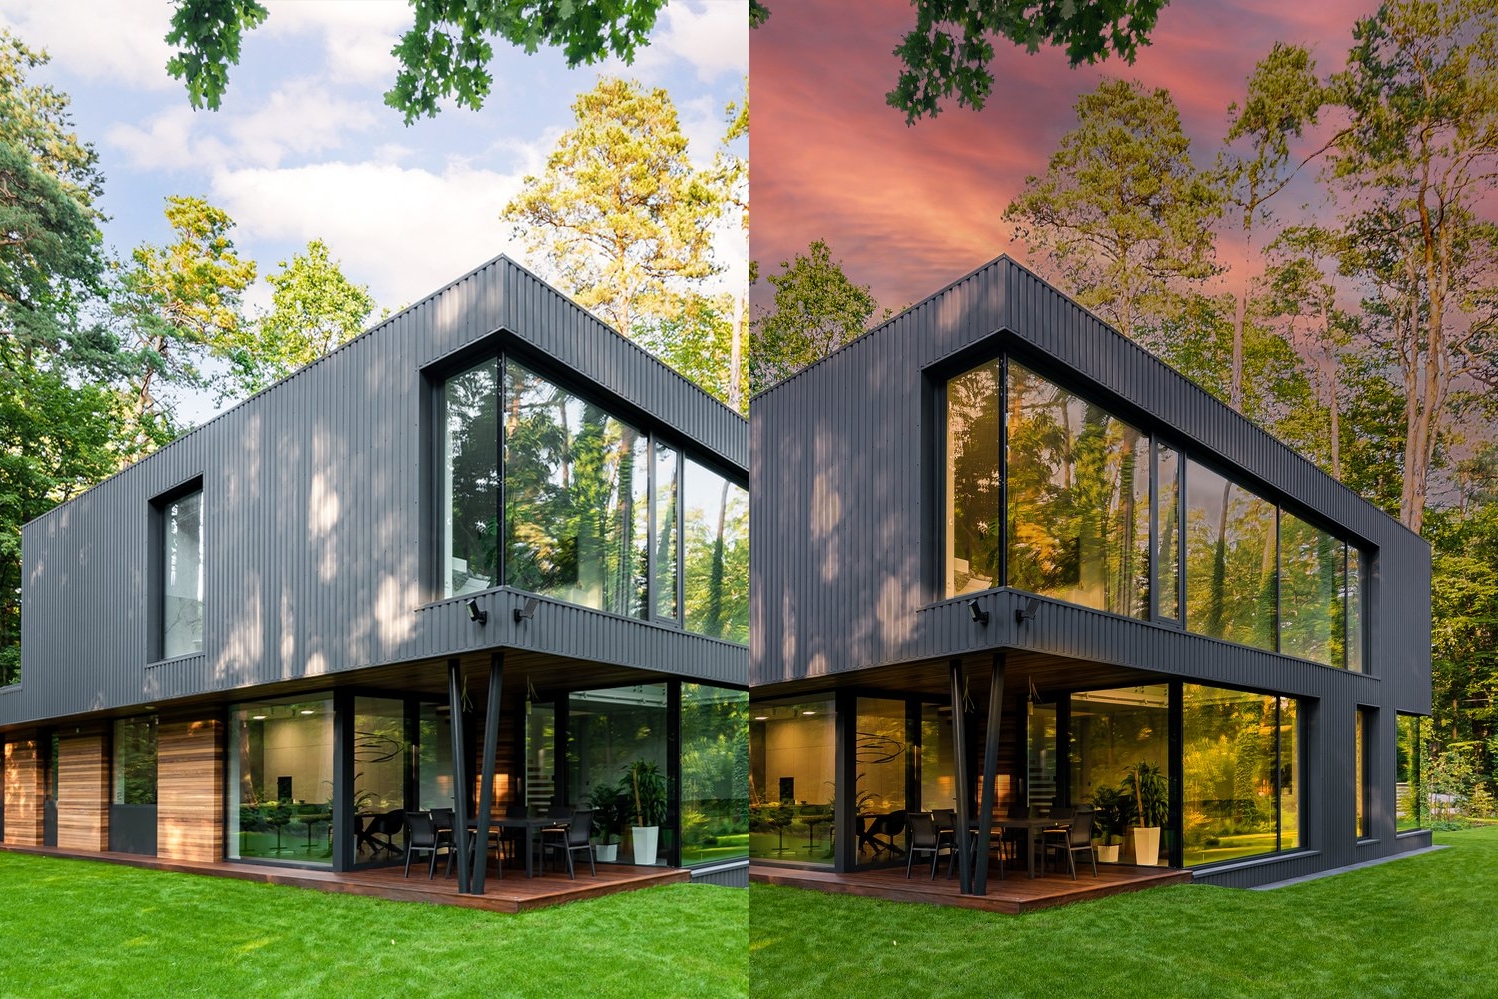
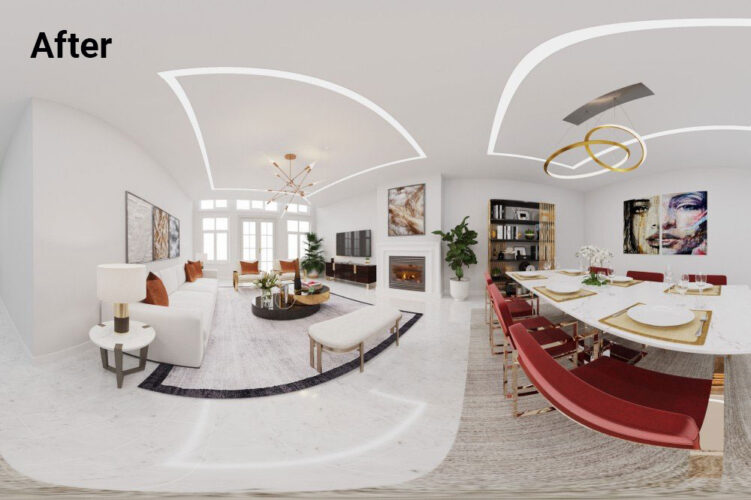
Shooting HDR photos is just the first step. Post-processing the photos in a program like Adobe Lightroom is crucial to enhancing the image’s overall quality and making it stand out in the competitive real estate market. In this guide, we will explore how to use Lightroom to post-process HDR real estate photos and achieve stunning results.
Importing Images and Creating HDR Merges
To begin the process of creating HDR real estate photos in Lightroom, you will need to import the bracketed exposures into the software. Once the bracketed images are imported, you can use Lightroom’s built-in HDR merge tool to create an HDR merge. This will combine the bracketed images into a single high-dynamic range image.
When creating the HDR merge, it is important to adjust the merge settings to control tone mapping and ghosting. Tone mapping allows you to adjust the exposure, contrast, and color balance of the HDR image. Ghosting refers to any movement that may have occurred between the bracketed exposures, which can cause unwanted artifacts in the final image. Lightroom’s merge tool allows you to select the best option to handle ghosting based on the movement in your scene.
Tone Mapping, Exposure Blending, and Contrast Adjustments
After creating an HDR merge in Lightroom, you can use the software’s Tone Mapping sliders to adjust the exposure, contrast, and color balance of the image. This process allows you to fine-tune the HDR image to achieve the desired look and feel. You can also use the Exposure Blending tool in Lightroom to blend the bracketed exposures together for a more natural-looking result.
In addition to exposure and contrast adjustments, it is important to adjust the sharpness and clarity of the image to ensure optimal quality. Lightroom provides several tools for sharpening and enhancing the details in your HDR real estate photos. By using these tools, you can create a polished and professional-looking final image that showcases the property’s features and details.
Tone Mapping, Exposure Blending, and Contrast Adjustments
After creating an HDR merge in Lightroom, you can use the software’s Tone Mapping sliders to adjust the exposure, contrast, and color balance of the image. This process allows you to fine-tune the HDR image to achieve the desired look and feel. You can also use the Exposure Blending tool in Lightroom to blend the bracketed exposures together for a more natural-looking result.
In addition to exposure and contrast adjustments, it is important to adjust the sharpness and clarity of the image to ensure optimal quality. Lightroom provides several tools for sharpening and enhancing the details in your HDR real estate photos. By using these tools, you can create a polished and professional-looking final image that showcases the property’s features and details.
Exporting and Sharing the Final Images
After editing the images, the next step is to export and share them. Here are some things to keep in mind:
Choosing the right file formats and sizes for online or print use: Lightroom provides various file formats and size options to choose from, depending on your specific needs.
Sharing the images on various platforms to showcase properties: Once you have the final images, it’s time to showcase them on various platforms such as your website, social media accounts, or online listings. This will help potential buyers or renters get a better idea of the property and its features.
In conclusion, using Lightroom for HDR real estate photography can greatly enhance the quality of your images and help you showcase properties in the best possible way. By importing images and creating HDR merges, adjusting tone mapping, exposure blending, and contrast, and fine-tuning the image with color balance and distortion correction, you can create stunning real estate photos that capture the beauty and uniqueness of each property. Finally, by choosing the right file formats and sizes and sharing the images on various platforms, you can effectively market properties and attract potential buyers or renters. So, don’t hesitate to practice and experiment with HDR techniques and Lightroom editing skills to take your real estate photography to the next level.