How to shoot HDR real estate photos
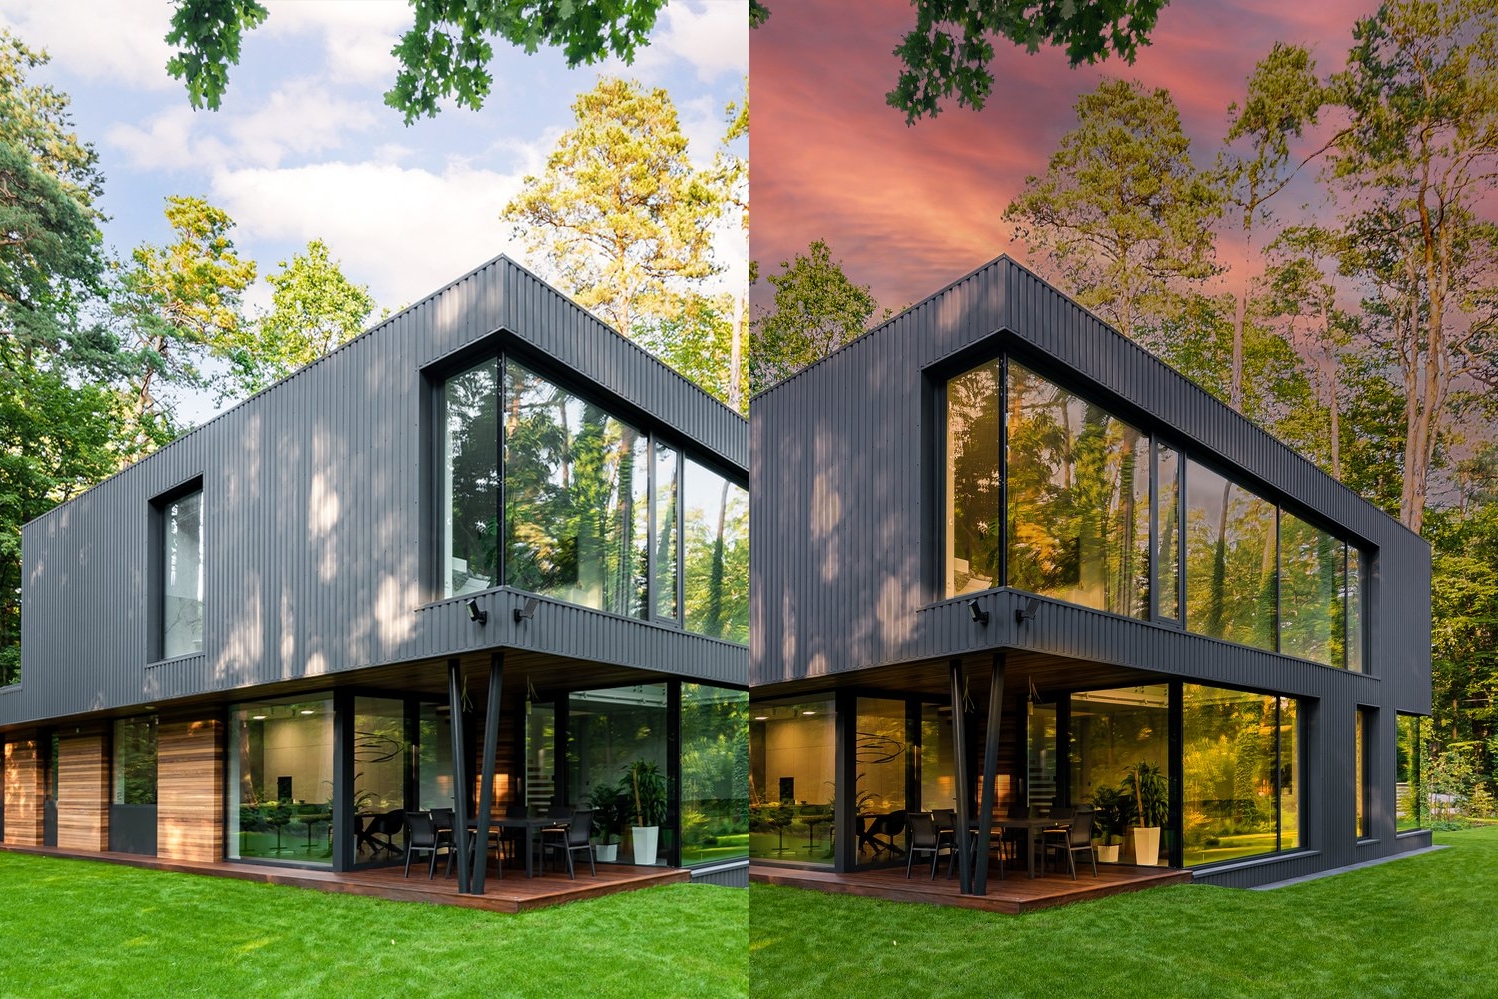
HDR (High Dynamic Range) photography is a technique that allows photographers to capture a wider range of brightness levels in a single image, resulting in a more detailed and realistic representation of a scene. In real estate photography, HDR is particularly useful for capturing interiors with large windows or outdoor scenes with bright sunlight. By taking multiple photos at different exposure levels and combining them into one image, HDR photography produces a photo that showcases a property’s features in its best light. In today’s highly competitive real estate market, high-quality photos are essential for attracting potential buyers or renters. In this section, we will discuss the importance of HDR photography for real estate, and how it can help you create high-quality photos that stand out from the competition.
Equipment needed for shooting HDR real estate photos
To shoot HDR real estate photos, you’ll need some specialized equipment beyond your camera and lens. Here are the essential tools you’ll need:
- Camera: For HDR photography, your camera should have a high dynamic range, or the ability to capture a wide range of brightness levels. Ideally, you’ll want a camera that can shoot in RAW format, which allows for greater flexibility in post-processing. A wide-angle lens is also highly recommended for capturing more of the room in one shot.
- Tripod: Using a tripod is essential for HDR photography, as it ensures that all of your shots are properly aligned. It also reduces camera shake and allows for slower shutter speeds, which can help capture more detail.
- Remote shutter release: A remote shutter release, whether wired or wireless, allows you to trigger the camera without physically touching it, minimizing camera shake.
- HDR software: To combine your bracketed shots into a single HDR image, you’ll need HDR software. There are many options available, including Photomatix, Aurora HDR, and Adobe Lightroom.
- Editing tools: After creating your HDR image, you’ll likely want to do some further editing. Adobe Photoshop or Lightroom are popular options for editing, but there are also many other options available.
- Light modifiers: Depending on the lighting conditions in the property, you may need light modifiers such as reflectors or diffusers to help control the light and avoid harsh shadows or blown-out highlights.
Preparing for the shoot
Before you begin shooting, it’s important to prepare the property to ensure that you capture the best possible images. Here are some steps to follow:
- Scouting the property: Take a walk around the property and identify the best angles, rooms, and lighting conditions. Look for unique features that can be highlighted in your photos, such as a fireplace or a stunning view.
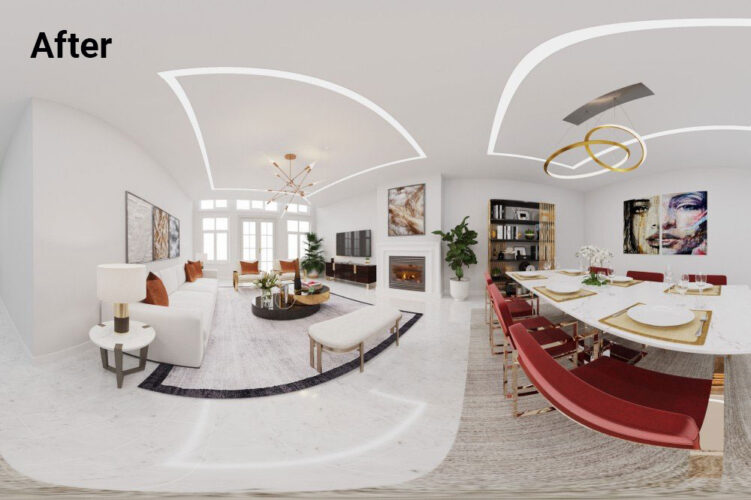
- Cleaning and staging the property: Before you start shooting, make sure the property is clean and tidy. Remove any clutter or personal items that could be distracting in your photos. Add furniture and decorations to help showcase the property’s potential.
- Adjusting lighting: Lighting is critical for capturing great real estate photos. Make sure that all of the lights are working and that they create a warm, inviting atmosphere. Use natural light as much as possible, but be prepared to use additional lightings, such as flash or LED panels, to fill in shadows or highlight specific areas.
- Checking the weather forecast: When shooting outdoor shots, it’s important to choose a day with good weather conditions. Ideally, you’ll want to shoot on a sunny day with blue skies and fluffy clouds. If the weather isn’t ideal, consider waiting for better conditions.
Shooting techniques for HDR real estate photos
To create stunning HDR photos, you’ll need to use specific shooting techniques that capture multiple exposures and combine them into a single image. Here are some tips to keep in mind:
- Setting up the camera: Before you start shooting, adjust your camera’s settings to ensure that you capture the best possible shots. Adjust the aperture, shutter speed, ISO, white balance, and exposure bracketing according to the lighting conditions in the property.
- Capturing multiple exposures: To create an HDR image, you’ll need to capture multiple exposures of each scene. Typically, you’ll want to take at least three shots at different exposure levels, such as -2, 0, and +2. Some cameras have a built-in bracketing mode that makes this process easier.
- Avoiding common mistakes: There are several common mistakes that can ruin your HDR shots, including camera shake, inconsistent framing, improper alignment, overexposure, and underexposure. Use a tripod to stabilize your camera and make sure all shots are properly aligned. Check your framing and exposure settings before each shot to ensure consistency.
- Choosing the right time of day: Consider shooting during the “golden hour,” which is the hour after sunrise or the hour before sunset, to capture warm, soft light that enhances the property’s features.
Post-processing for HDR real estate photos
Once you’ve captured your bracketed shots, it’s time to import them into HDR software and create the final HDR image. Here are the steps to follow:
- Importing images into HDR software: Use HDR software to merge your bracketed shots into a single HDR image. Some popular HDR software options include Photomatix, Aurora HDR, and Adobe Lightroom.
- Editing the HDR image: Once you have your HDR image, use editing tools to adjust tone mapping, exposure, contrast, saturation, and color balance. Use caution not to overdo the adjustments, which can lead to unrealistic and unnatural-looking images.
- Fine-tuning the image: To make your HDR real estate photos look polished and professional, you’ll need to fine-tune them. This may involve removing distortion, straightening lines, removing unwanted objects, and enhancing details.
- Exporting the final image: Once you’re satisfied with your edits, save your HDR image in the desired file format and size for online or print use. Consider creating multiple versions of the image optimized for different platforms and uses, such as the web or social media.
With Pixflows, you can take your real estate marketing to the next level with our HDR photo editing services. Our team of experts can transform your images into eye-catching, vibrant, and true-to-life representations of your properties, helping you to make a strong impression on potential buyers or renters.
HDR photography is a powerful technique for creating high-quality real estate photos that showcase a property’s features and appeal to potential buyers or renters. By using the right equipment, shooting techniques, and post-processing tools, you can create stunning HDR images that stand out from the competition. Investing time and effort into high-quality real estate photography is crucial for attracting potential buyers or renters and achieving a successful sale or rental. By practicing and experimenting with HDR photography techniques, you can improve your skills and create stunning images that make your listings stand out.