Creating the Perfect Lighting: Editing Interior Photos for a Welcoming Feel
Capturing the essence of a well-designed interior space in a photograph requires more than just a skilled eye and a quality camera. One of the key elements that can make or break an interior photo is lighting. The right lighting can create a warm and inviting atmosphere, highlighting the best features of the space while minimizing any flaws. In this article, we will explore the importance of lighting in interior photography and delve into the techniques and editing processes that can help you achieve the perfect lighting for a welcoming feel.
 When it comes to interior photography, lighting plays a vital role in setting the mood and creating an inviting ambiance. Proper lighting can bring out the textures, colors, and details of a space, making it visually appealing to viewers. Whether you are a professional photographer or an amateur enthusiast, learning how to master lighting techniques and editing processes can significantly enhance the quality of your interior photos.
Understanding the Importance of Lighting in Interior Photography
Lighting is crucial in interior photography as it sets the overall tone and mood of the image. It can make a room appear warm and cozy or bright and airy, depending on the desired effect. The right lighting can accentuate architectural details, furniture, and decor, showcasing the unique features of the space. On the other hand, poor lighting can result in flat, dull, or unappealing photographs.
Choosing the Right Lighting Equipment
Before delving into lighting techniques, it’s essential to have the right equipment. While natural light is often preferred for its soft and flattering qualities, it’s not always readily available or controllable. In such cases, artificial lighting becomes necessary.
When it comes to artificial lighting, there are several options to consider. Continuous lighting, such as LED panels or tungsten bulbs, provides a consistent and adjustable light source. On the other hand, strobe or flash lighting offers more power and versatility but requires additional equipment like strobe lights and triggers. Choose the lighting equipment that best suits your needs and budget.
Setting Up the Shot: Tips for Proper Lighting Placement
Once you have your lighting equipment ready, it’s important to understand how to position the lights for the best results. The placement of light sources can significantly impact the mood and atmosphere of the photograph.
Start by identifying the main focal point of the room and determine how you want to highlight it. Consider using a combination of direct and indirect lighting to create depth and dimension. Experiment with different angles and positions to find the most flattering lighting setup for your subject.
Mastering Natural Light: Utilizing Windows and Skylights
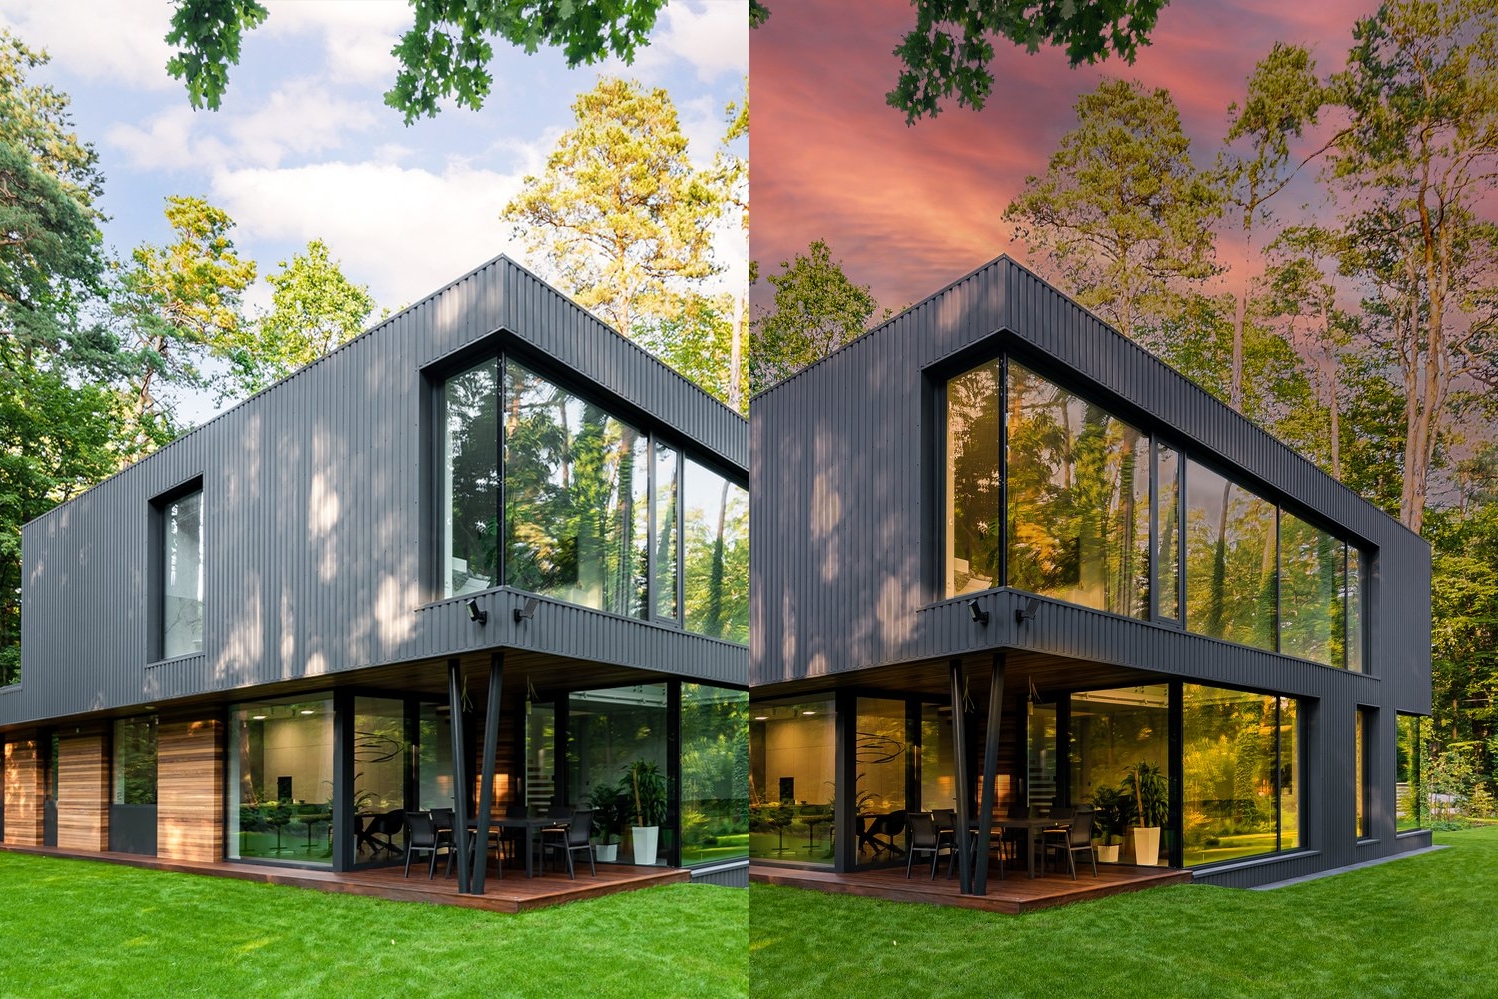
Natural light is often considered the most flattering and desirable option for interior photography. The soft, diffused light that enters through windows or skylights can create a warm and inviting atmosphere. However, mastering natural light requires careful timing and understanding of the room’s orientation.
Plan your photo shoot during the time of day when the natural light is at its best. Avoid harsh midday sunlight, as it can cause unflattering shadows and blown-out highlights. Instead, aim for the golden hours, shortly after sunrise or before sunset, when the light is soft and warm.
Using Artificial Light Sources: Lamps, Chandeliers, and Spotlights
In situations where natural light is limited or not available, artificial light sources can come to the rescue. Lamps, chandeliers, and spotlights can be strategically placed to create the desired lighting effects.
Experiment with different types of artificial light sources to achieve the mood you want to convey. Dimmable lamps or adjustable spotlights can provide versatile options for controlling the intensity and direction of the light. Be mindful of the color temperature of the artificial light and ensure it complements the overall color scheme of the room.
Understanding Color Temperature and White Balance
Color temperature refers to the warmth or coolness of light, measured in Kelvin (K). Different light sources emit light at varying color temperatures, ranging from warm (yellowish) to cool (bluish). Understanding and managing color temperature is essential to achieve accurate and pleasing lighting in your interior photos.
White balance is the process of adjusting the colors in an image to appear neutral and natural. It helps in getting rid of any color casts caused by different light sources. Use the appropriate white balance settings in your camera or adjust it during post-processing to ensure accurate color representation.
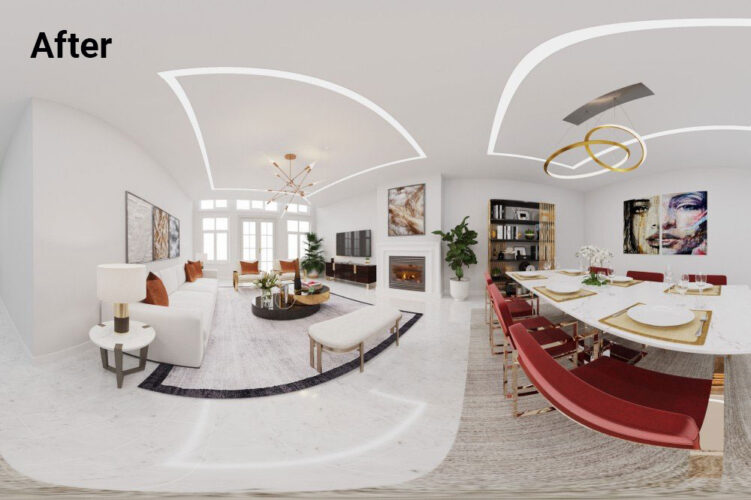
Enhancing Lighting in Post-Processing: Editing Techniques
While capturing the right lighting in-camera is crucial, post-processing plays an equally important role in perfecting the lighting in your interior photos. Editing techniques can help enhance and refine the lighting, making the photograph truly captivating.
Here are some essential editing techniques to consider when working on your interior photos:
Adjusting Exposure and Contrast
One of the primary steps in editing interior photos is adjusting the exposure and contrast. This allows you to balance the brightness levels and create a visually appealing image. Increase the exposure to brighten the overall scene, and adjust the contrast to add depth and definition to the details.
Balancing Shadows and Highlights
Properly balancing shadows and highlights can significantly enhance the overall lighting in your interior photos. Dark shadows can make a room appear gloomy, while blown-out highlights can wash out the details. Use tools like the shadow and highlight sliders to recover details and create a more balanced lighting effect.
Correcting White Balance Issues
White balance issues can be common in interior photography, especially when working with mixed lighting sources. Use the white balance adjustment tools to correct any color casts and ensure that the colors in your photo appear accurate and natural.
Enhancing Colors and Tones
Editing software allows you to enhance the colors and tones in your interior photos. Adjust the saturation and vibrancy to make the colors pop, while also ensuring they remain true to the original scene. Experiment with different color grading techniques to create a cohesive and visually appealing look.
Adding Depth and Dimension with Shadows
Shadows can add depth and dimension to your interior photos, creating a more realistic and inviting atmosphere. Use the brush or gradient tools to selectively darken areas and create subtle shadows that add a sense of depth to the image.
Removing Unwanted Glare and Reflections
Glare and reflections can be distracting elements in interior photos. Use the clone stamp or healing brush tools to remove any unwanted glare or reflections on shiny surfaces, such as glass or mirrors. This helps in creating a cleaner and more professional-looking image.
Conclusion
Mastering the art of lighting in interior photography is a skill that can greatly enhance the quality and appeal of your photographs. Understanding the importance of lighting, choosing the right equipment, and utilizing both natural and artificial light sources are essential steps in achieving the perfect lighting for a welcoming feel.
Additionally, post-processing techniques such as adjusting exposure and contrast, balancing shadows and highlights, correcting white balance, enhancing colors and tones, adding depth with shadows, and removing unwanted glare and reflections can further refine the lighting in your interior photos.
By combining these techniques and continuously practicing, you can create stunning interior photographs that capture the essence of a space and evoke a welcoming feel.